How to Grow Microgreens
Using Our Tiny Garden's Microgreen Grow Kit
Written Instructions
A step-by-step guide to grow microgreens in your home.
Setup
Day 1
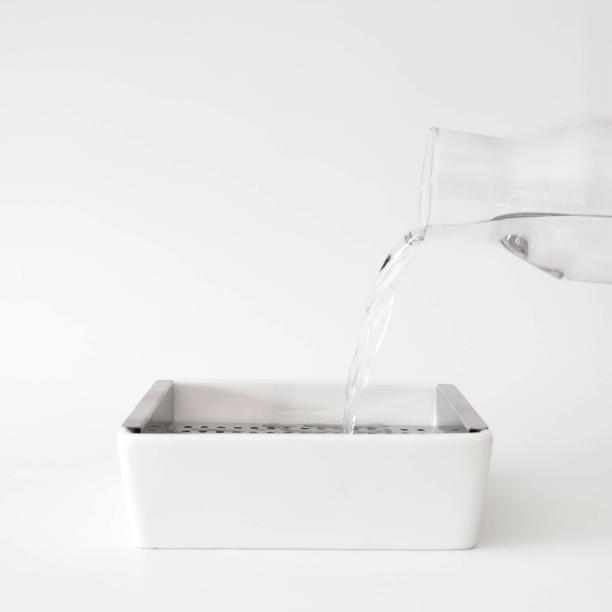
1.
Add your Water: Fill the porcelain dish with water just above the marked line on the inside of the bowl.
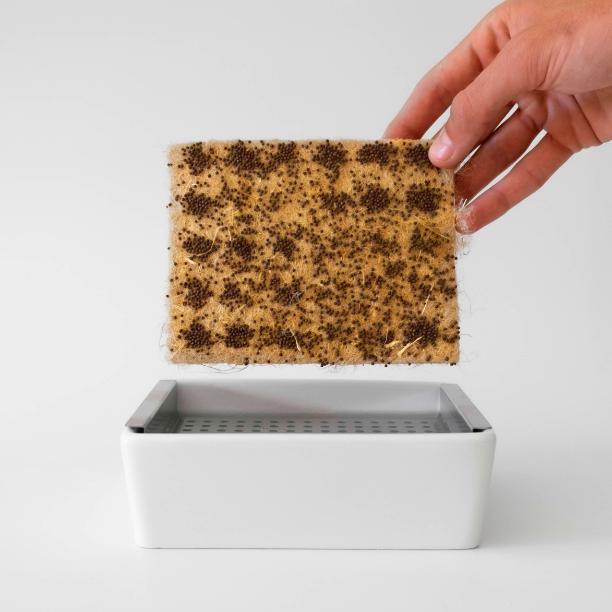
2.
Choose a Seed Pad: Remove the seed pad from it’s envelope and place it into the grow kit.
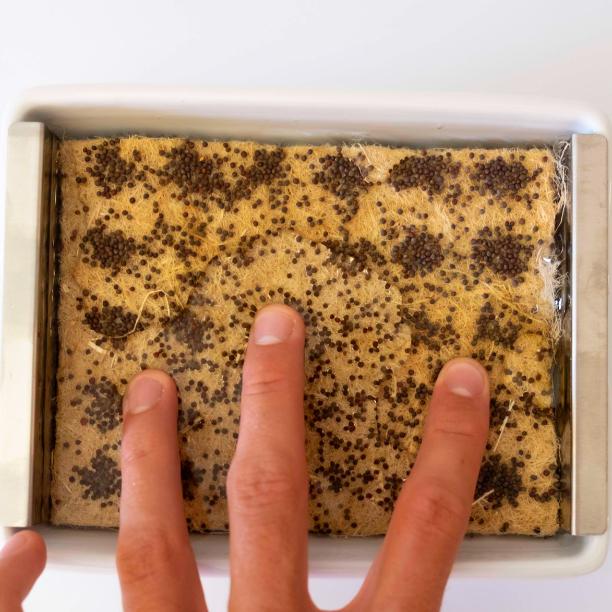
3.
Press into Water: Gently press the seed pad into the water ensuring all seeds are wet. The pad will then absorb the water, leaving no dry seeds behind.
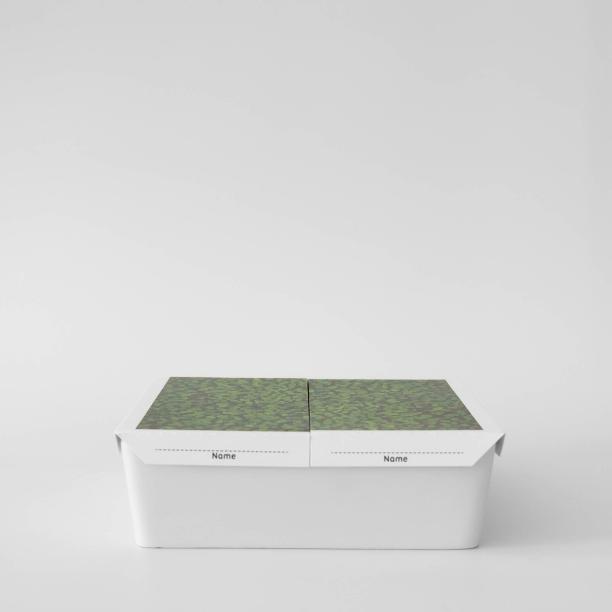
4.
Cover the Seeds: Fold the shade covers along the dotted lines and place them on the grow kit to block out light.
Introduce to Light
Day 2-3
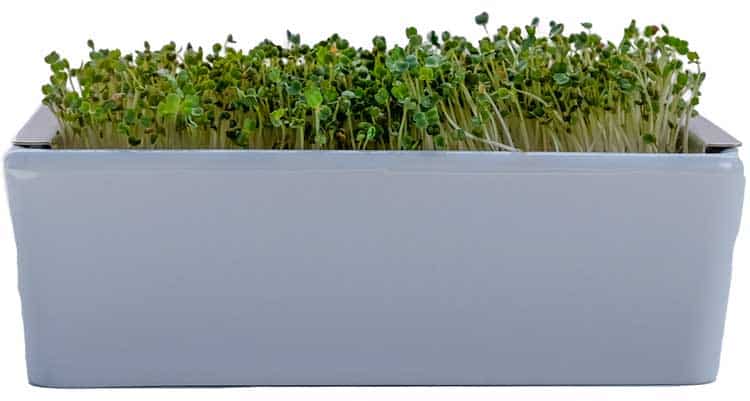
1.
Remove Covers: Once the microgreens push up the shade covers, remove them and place the kit in a well-lit area like a windowsill or bright room.
Harvest
Day 7-10
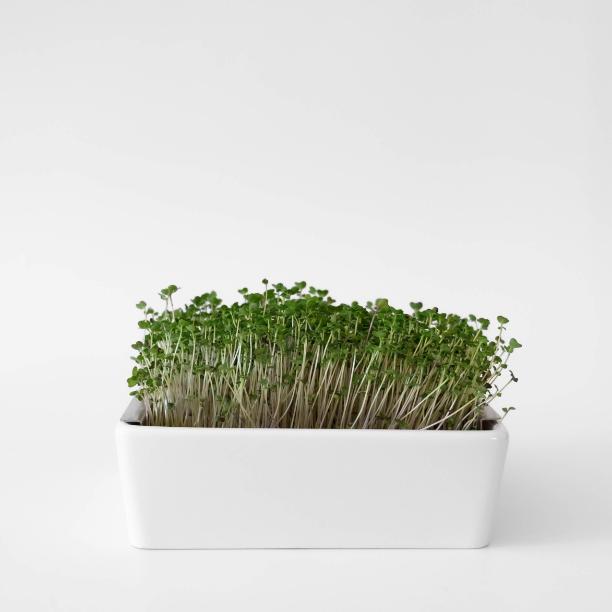
1.
Check if they’re ready: Harvest when the microgreens are 2-3 inches tall, usually around 7-10 days.
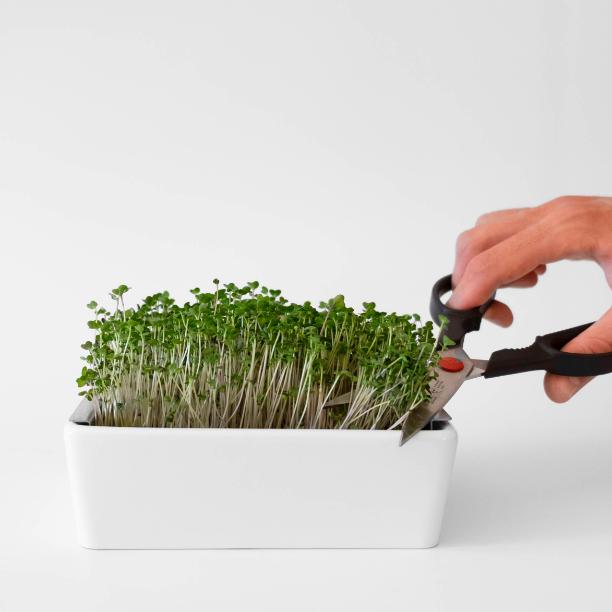
2.
Cut the Microgreens: Pinch a cluster of microgreens together and cut using scissors or a sharp knife.

3.
Enjoy: Add them to any meal of your choice! Good choices are pastas, salads, sandwiches, pizzas, smoothies, burgers, tacos, and much more!
Don't Have A Grow Kit?
Frequently Asked
Growing Questions:
Microgreens don’t require a lot of light, but they benefit from exposure to a good amount of indirect light. A windowsill or bright room works great.
Most microgreens are ready to harvest in 7-10 days.
No need to change the water. Just top it off if it runs low.
You can grow microgreens year round indoors.
No, the seeds’ energy is used up after the first harvest.
On basically anything: Pastas, sandwiches, salads, burgers, pizzas, burritos, sushi, and much more.
Indoor growing works best.
1.75oz and 2.25oz, but the exact amount depends on when you harvest.
